
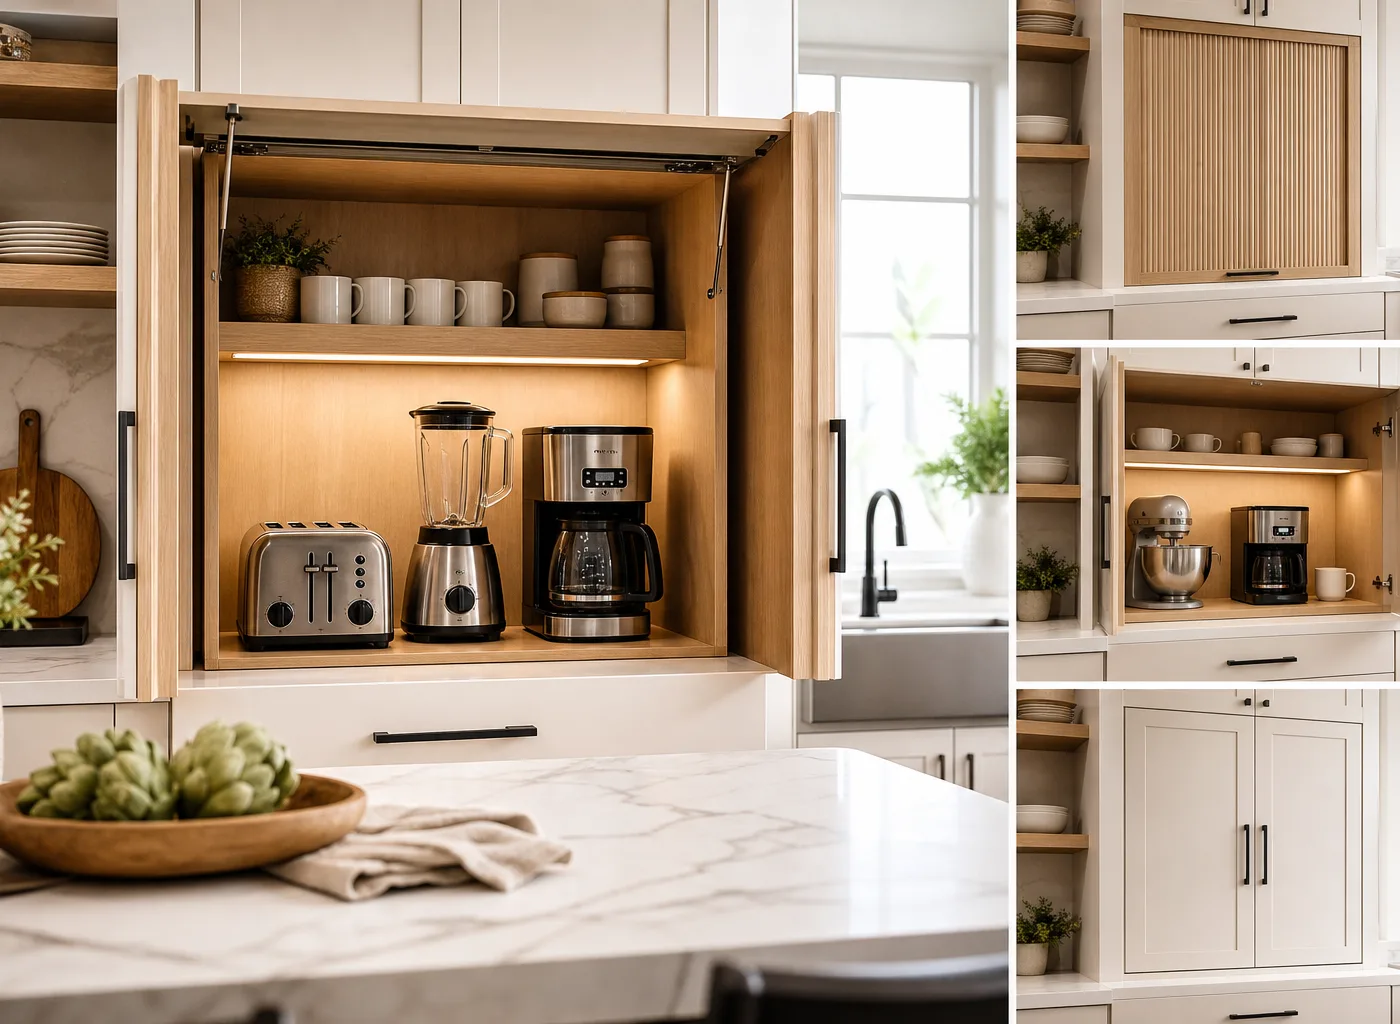
Small kitchens can feel cluttered quickly, especially when the coffee maker, toaster, blender, and stand mixer all need a place to live. An appliance garage is one of the most useful ways to reclaim visual calm without making frequently used tools difficult to reach.
Unlike a standard cabinet, an appliance garage is designed to keep appliances plugged in, accessible, and hidden when not in use. The right design can turn an awkward corner, a shallow section of counter, or an unused wall cabinet into a hardworking storage zone. These small kitchen appliance garage ideas will help you choose a solution that fits your layout, budget, and daily routine.
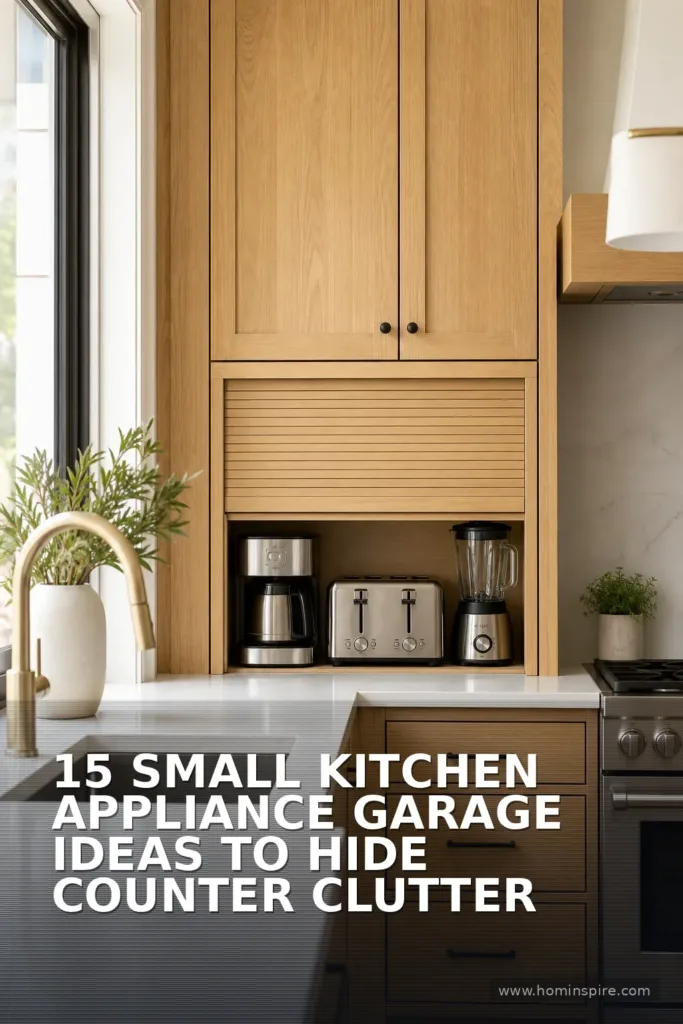
What Is an Appliance Garage?
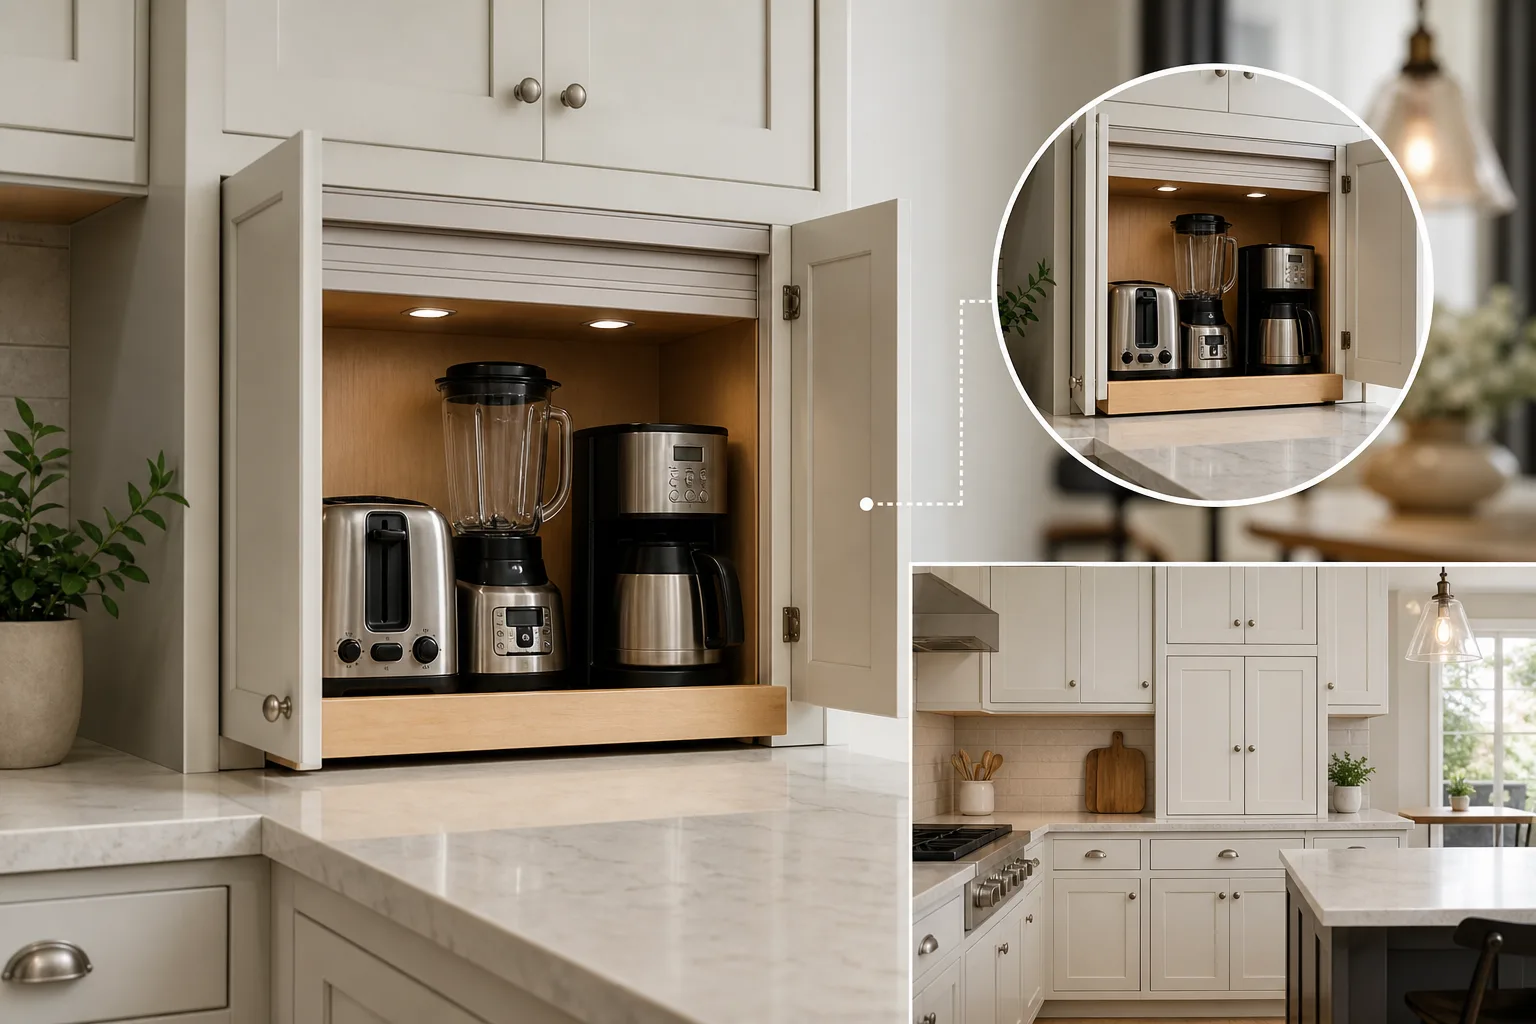
An appliance garage is an enclosed storage area built on or near the countertop. It typically has a door that opens upward, slides sideways, retracts into the cabinet, or lifts away. Inside, it holds small appliances that would otherwise occupy valuable prep space.
The best versions are not simply places to hide clutter. They are planned around use. A coffee machine needs an outlet, ventilation, and enough clearance to fill the water tank. A toaster needs a heat-safe location and should be unplugged or fully cooled before it is stored. A mixer garage needs a sturdy shelf and a door opening wide enough to access the bowl.
Why an Appliance Garage Works So Well in a Small Kitchen
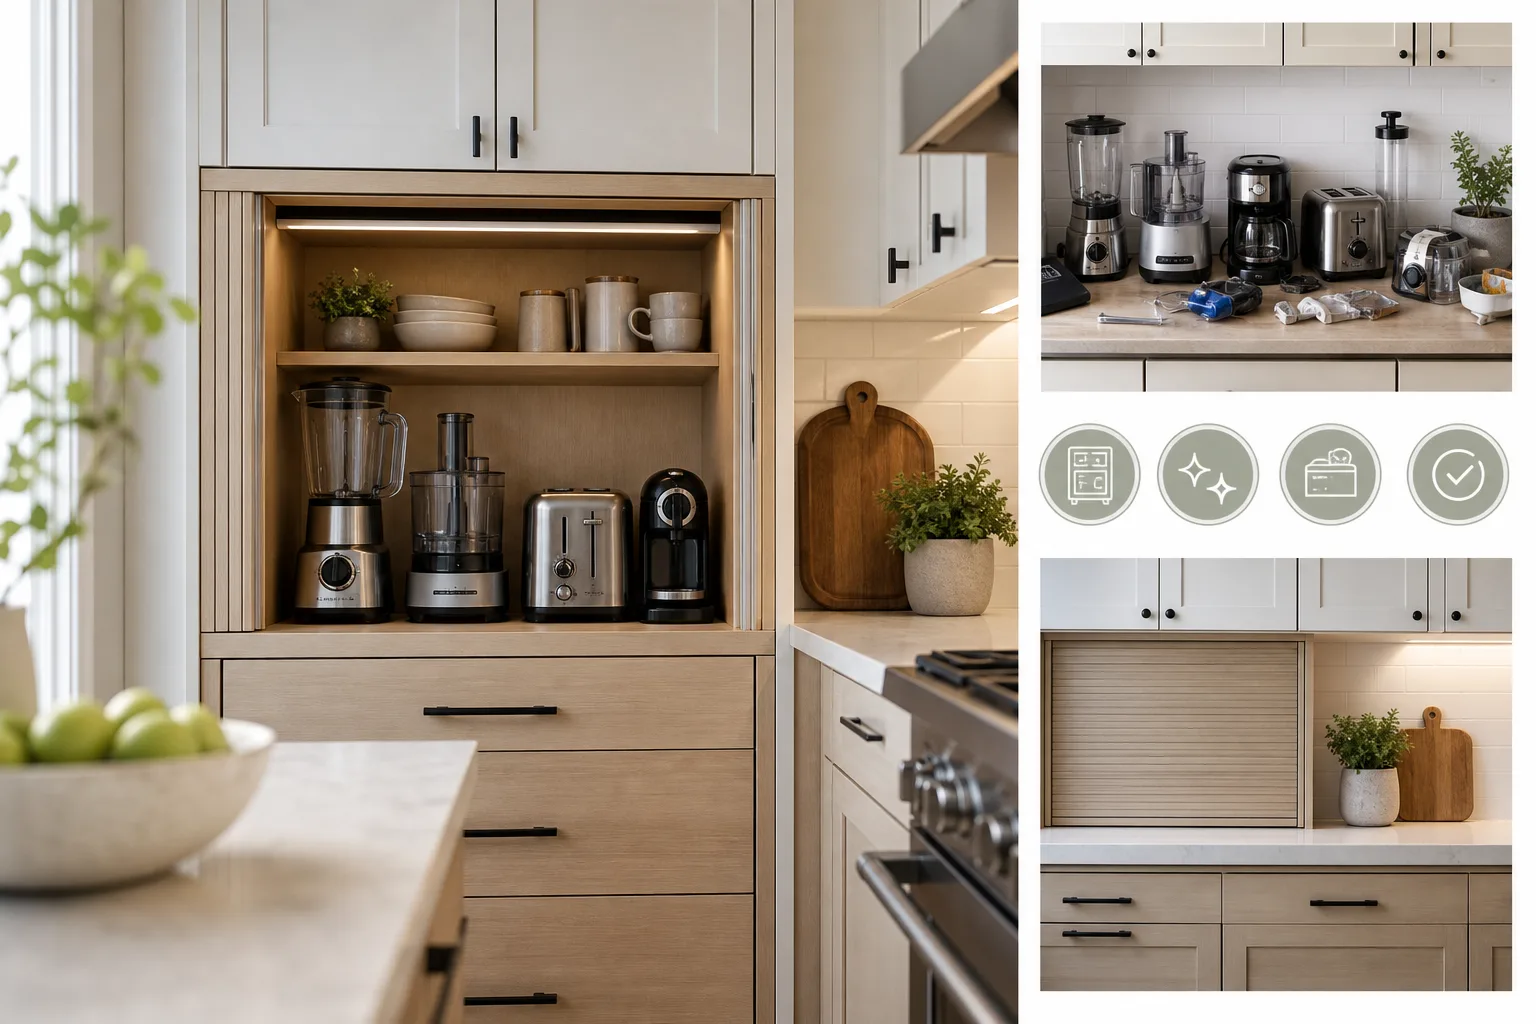
In a compact room, clear counters make the entire kitchen feel larger. Appliance garages provide that open look while keeping your most-used tools within arm’s reach. They can also create a more intentional, built-in appearance than grouping appliances along the backsplash.
- Faster cleanup: Close one door instead of relocating several appliances.
- Better workflow: Keep brewing, toasting, or blending tools close to the outlets and ingredients they need.
- Less visual noise: Conceal cords, mismatched finishes, and daily-use items.
- More protected storage: Appliances are less exposed to grease, dust, and splashes.
- Greater flexibility: A garage can be tailored to one appliance or serve as a multi-use station.
1. Use a Corner Appliance Garage
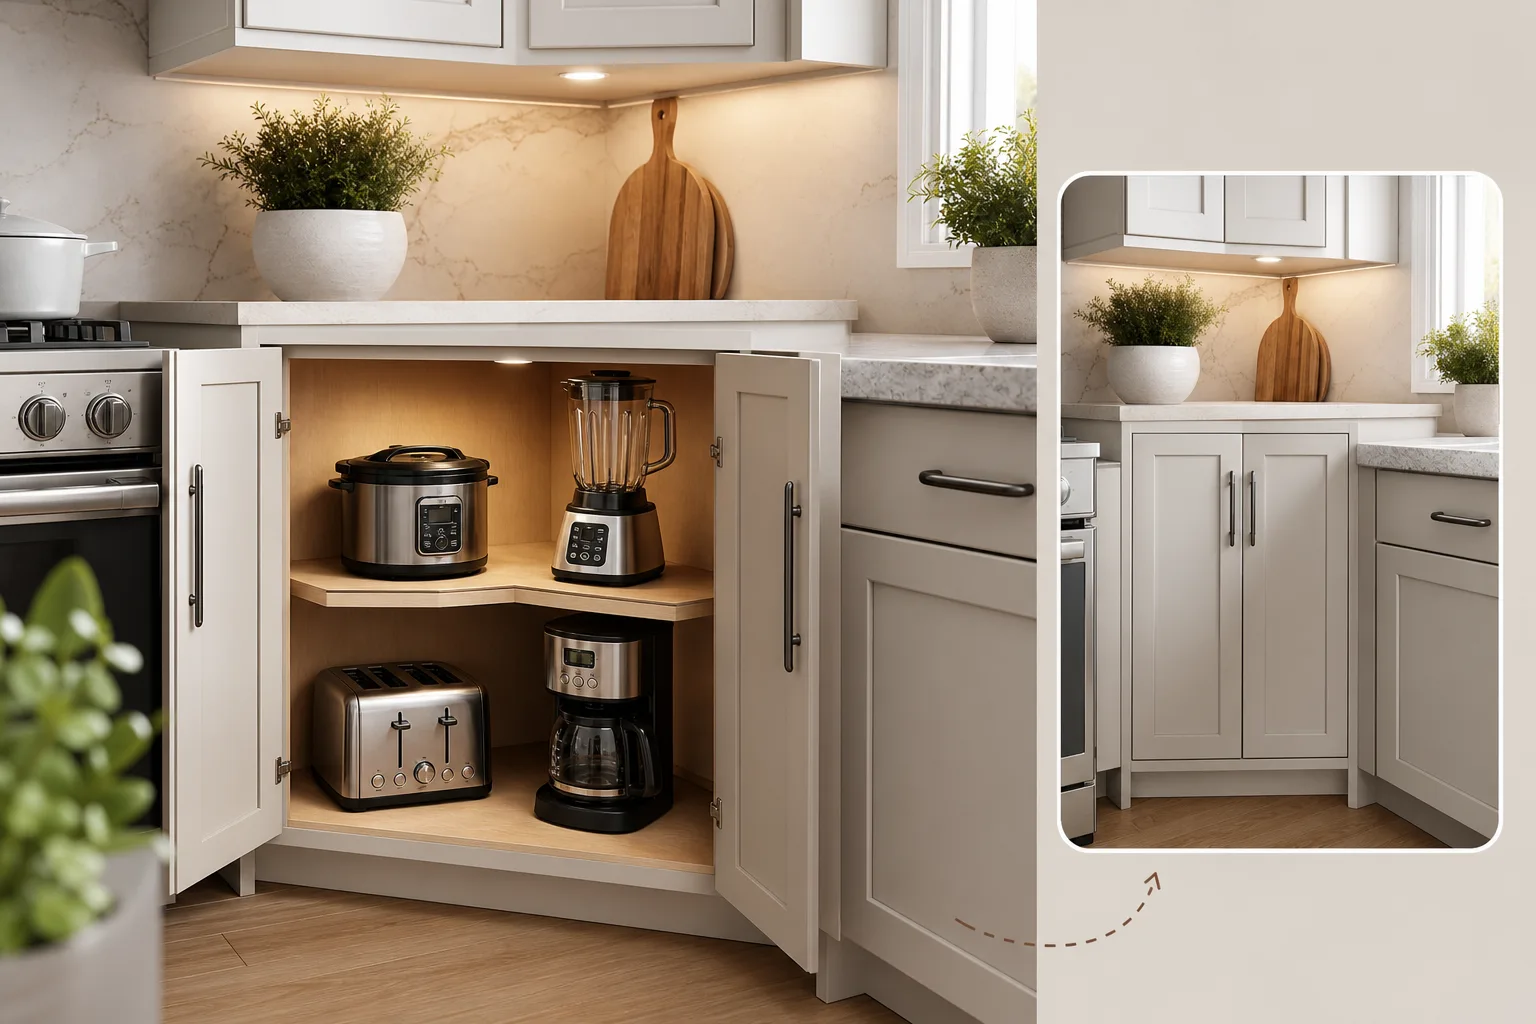
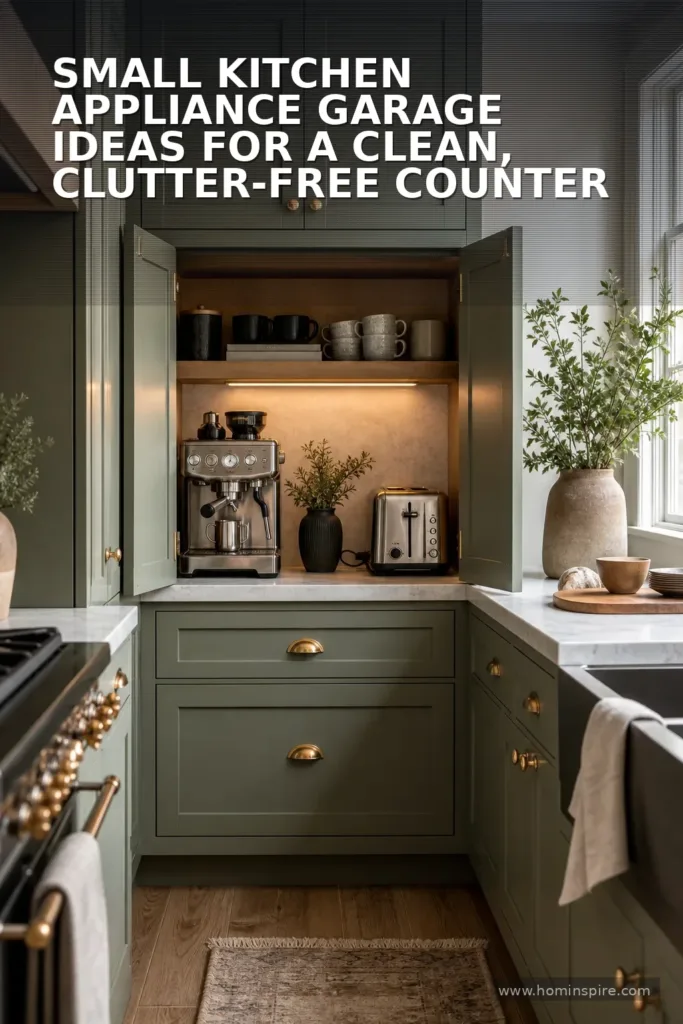
A corner appliance garage is a classic choice because corners often become dead zones. Extending upper cabinets down to the counter creates an enclosed nook that can hold a coffee maker, toaster, or blender without sacrificing a central work surface.
For a small kitchen, choose a curved tambour door, a bi-fold door, or a door that lifts up instead of swinging outward. These options reduce interference with nearby drawers, cabinet doors, and walkways. Use a light interior finish and under-cabinet lighting so the corner does not feel dark or forgotten.
2. Create a Dedicated Coffee Station Garage
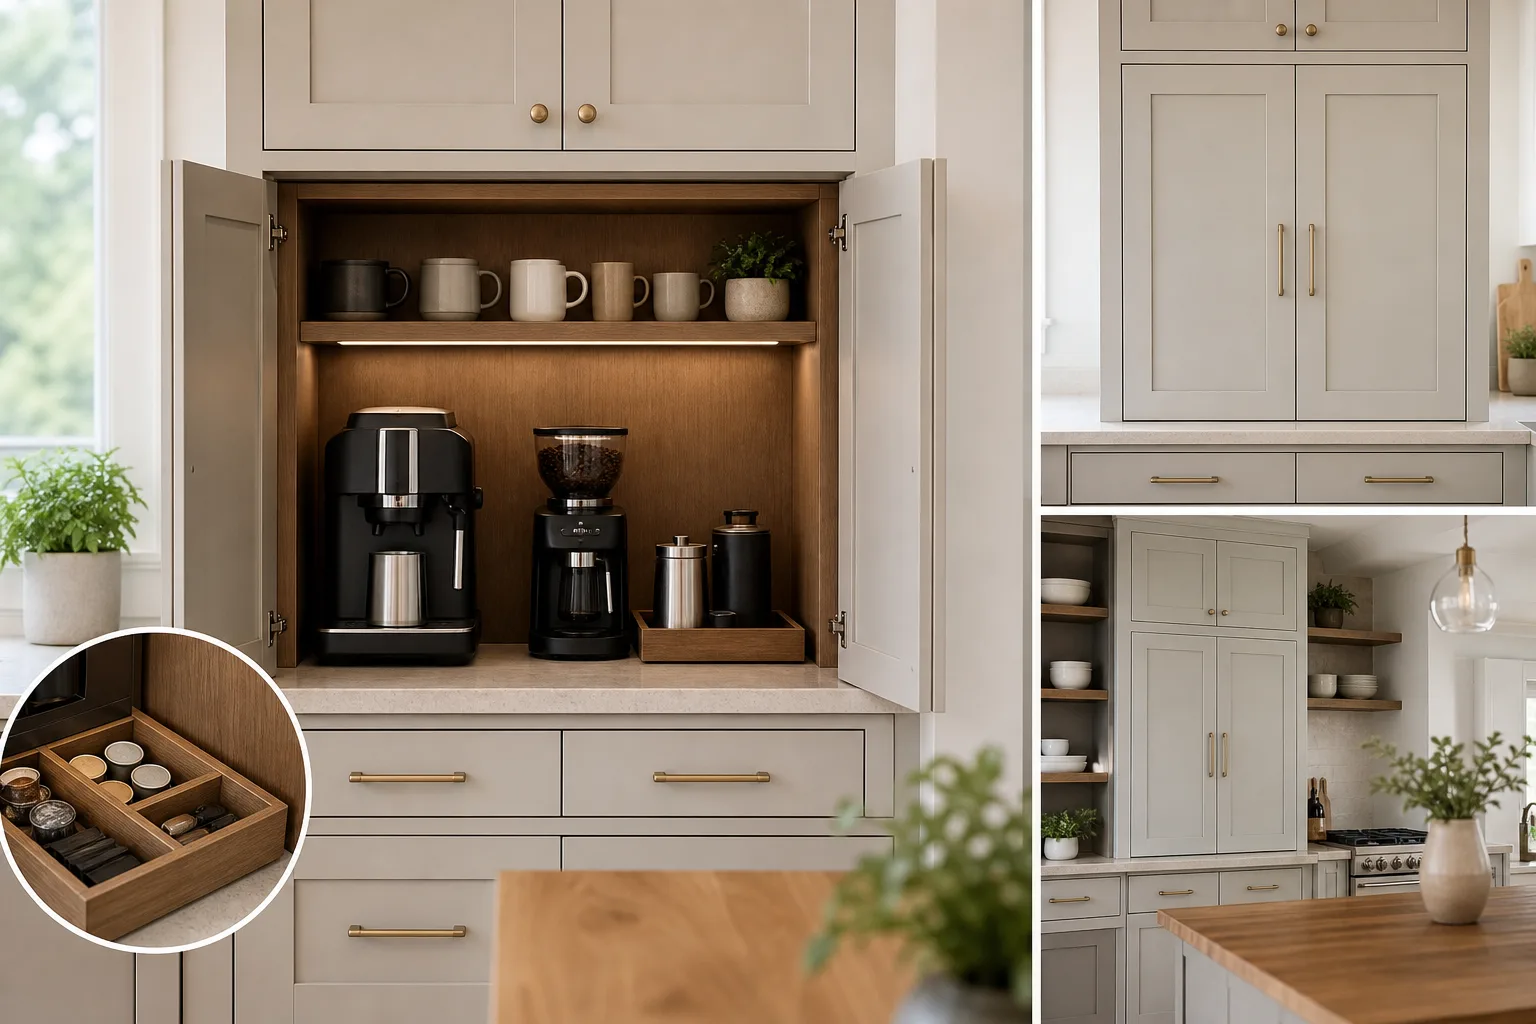
If the coffee maker is the appliance you use every day, give it a dedicated home. A coffee garage can hold the machine, mugs, pods or beans, filters, and a small tray for spoons. Add a backsplash-mounted outlet inside so the appliance can remain plugged in.
Plan for the steam that escapes during brewing. A durable, wipeable cabinet interior is practical, and leaving the door open while the machine runs helps limit moisture buildup. Pair this with these small kitchen coffee station ideas to make your morning routine feel organized rather than crowded.
3. Choose a Lift-Up Door for Narrow Aisles
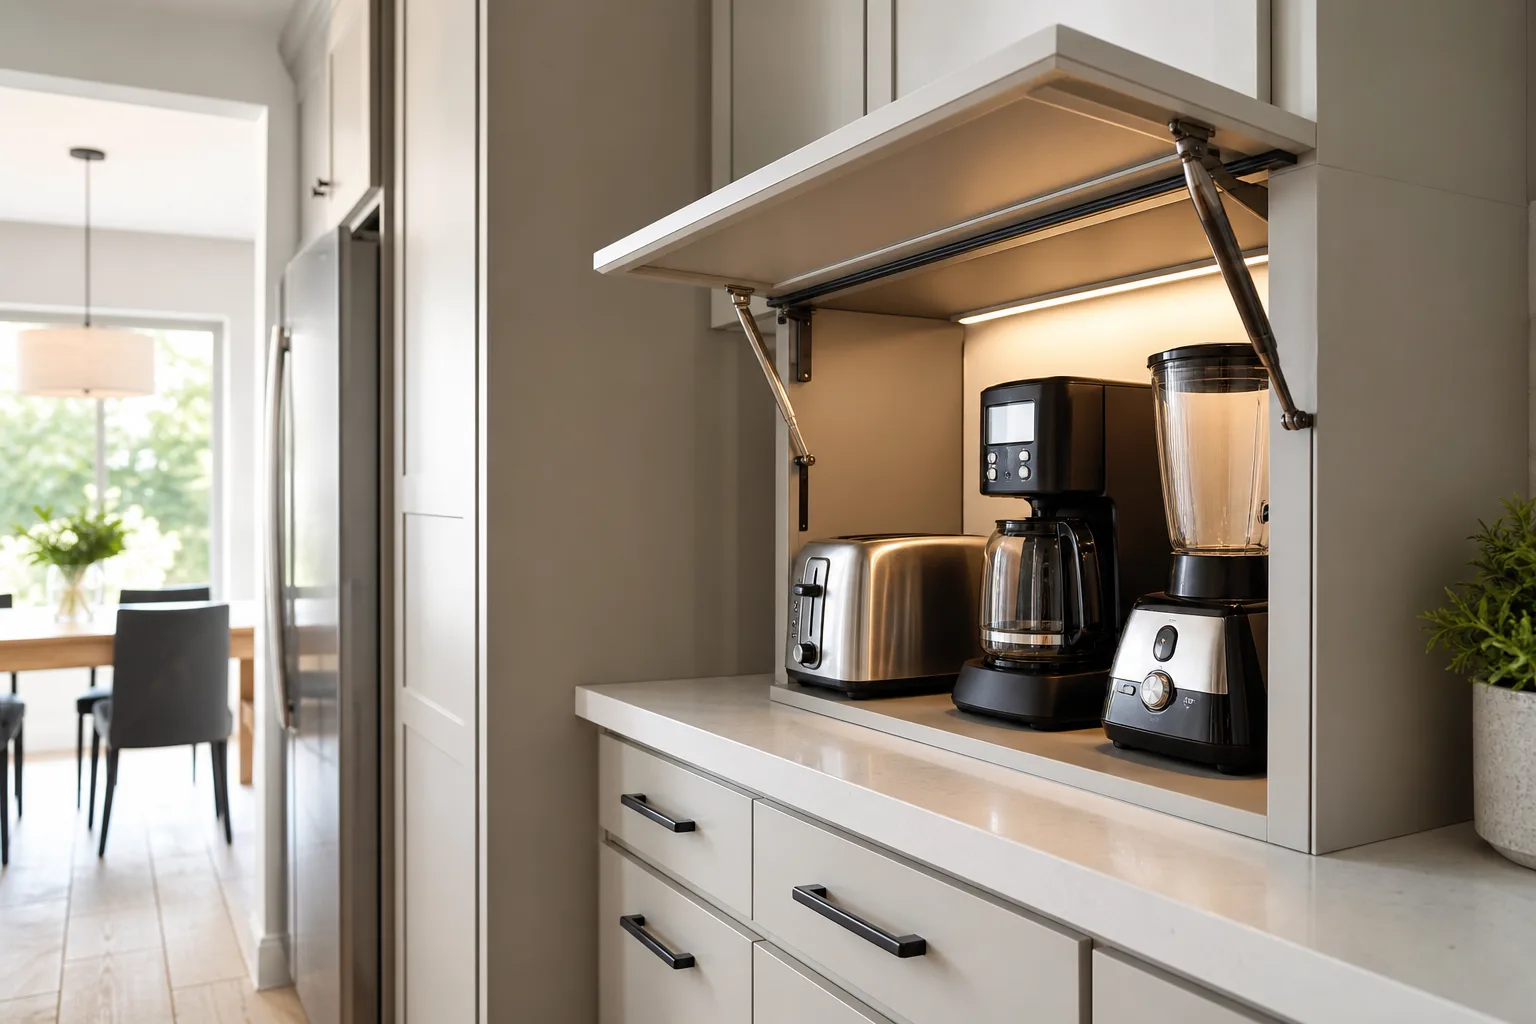
A lift-up door is especially useful in galley kitchens and apartments where there is little room for a swinging cabinet door. The door opens upward and stays out of the way while you use the appliance, then closes to create a smooth cabinet face.
Look for quality lift hardware rated for the weight and width of the door. For a polished look, match the front to surrounding cabinetry. A slim horizontal lift-up garage above the counter can work well for a toaster, electric kettle, or compact food processor.
4. Try a Tambour Door for Tight Corners
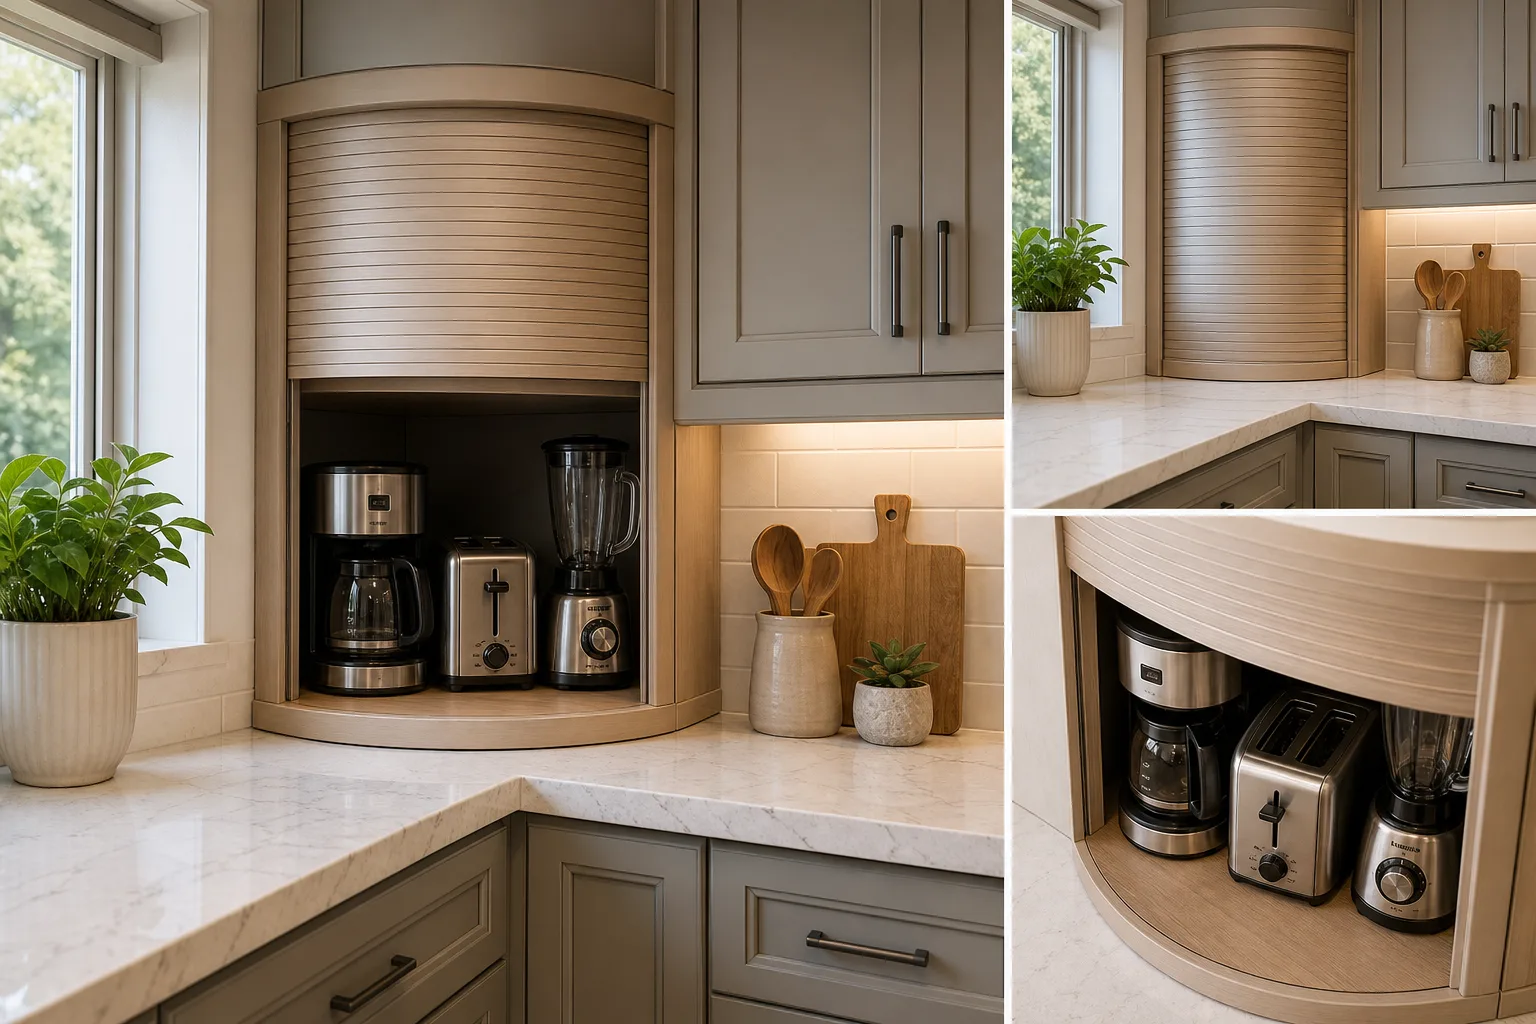
Tambour doors slide along a track and disappear into the top or side of the cabinet. Their flexible slatted construction makes them ideal for corner garages or any location where a hinged door would be awkward.
Modern tambour doors are available in wood, laminate, metal, and paintable finishes. Choose a finish that echoes your cabinets, or use a contrasting texture to make the garage look intentional. Before ordering, check that the door rolls smoothly and does not reduce too much usable opening width.
5. Turn a Shallow Counter Section Into a Toaster Garage
Not every appliance garage needs to be large. A shallow cabinet section can become a simple toaster garage, clearing a surprising amount of visual clutter. A depth of roughly 12 to 15 inches often works for compact toaster ovens and standard two-slice toasters, but always measure the appliance including its cord clearance.
Use a pull-out tray or a heat-resistant shelf liner to make cleanup easier. Never operate a toaster in an enclosed cabinet, and allow it to cool before closing the door. Follow the appliance manufacturer’s clearance and safety instructions rather than relying on a one-size-fits-all setup.
6. Add a Pull-Out Shelf for Heavy Appliances
A stand mixer, bread machine, or high-powered blender is inconvenient to lift from a deep cabinet every time you need it. A pull-out shelf lets the appliance come forward to the counter edge, where it is easier to use and clean around.
Install heavy-duty slides that exceed the loaded weight of the appliance. The shelf should lock or feel stable when extended, and the cabinet door should open fully enough to allow a comfortable working position. This is a smart solution when counter space is limited but a full countertop garage would be too bulky.
7. Build an Appliance Garage Into a Pantry Wall
If you have a pantry cabinet or a tall storage wall, consider adding a counter-height opening inside it. This creates an appliance garage without consuming the primary kitchen counter. It is ideal for a microwave, espresso machine, air fryer, or family snack station.
Include a durable work surface, outlets, and adjustable shelves above the appliance. Pocket doors are particularly useful here because they slide into the sides of the cabinet and remain out of the way when open. This setup works beautifully in open-plan homes where you want appliances hidden after use.
8. Use a Roll-Up Garage Below Upper Cabinets
In many small kitchens, the space between the countertop and upper cabinets is the best place for an appliance garage. Rather than leaving that entire run open, lower one or two upper cabinets to the counter and add a roll-up or lift-up door.
Keep the interior height aligned with what you actually store. Tall appliances need sufficient room for lids, water reservoirs, and ventilation. A garage that is too tall can look oversized in a compact kitchen, while one that is too shallow becomes frustrating to use.
9. Add a Hidden Microwave Garage
A microwave can dominate a small kitchen countertop. A dedicated microwave garage moves it off the main prep zone while keeping it accessible. In a tall cabinet, position the microwave at a comfortable height and use a trim kit or designed enclosure for a finished appearance.
Microwaves have specific ventilation requirements, so use the manufacturer’s installation directions and do not place a countertop model inside a closed cabinet unless it is approved for that use. This is a project where correct clearances matter more than appearance alone.
10. Make a Sliding-Door Breakfast Appliance Station
For households that use several appliances in the morning, a wider garage can hold a toaster, kettle, coffee maker, and a few breakfast supplies. Sliding cabinet doors are useful because one side can remain open while the other side conceals less attractive items.
Organize the interior by task: beverages on one side, toast and spreads on the other. A shallow drawer below can hold tea bags, napkins, and utensils. If your kitchen includes a dining corner, coordinate the station with a nearby eating area using these small kitchen breakfast nook ideas.
11. Use a Countertop Hutch or Freestanding Garage
Renters and budget-conscious homeowners do not always need custom cabinetry. A countertop hutch, small storage cabinet, or modified wall cabinet can create a freestanding appliance garage. Place it on a stable counter section, secure it when appropriate, and verify that it does not block outlets or create unsafe heat conditions.
Look for a unit with a retractable front, adjustable shelf, and enough depth for your appliance. A simple unfinished cabinet can be painted or covered with peel-and-stick material to coordinate with the kitchen. For more low-cost space improvements, explore these very small kitchen ideas on a budget.
12. Convert a Desk Niche or Awkward Cabinet
Older kitchens sometimes have a small desk area, phone nook, or oddly proportioned base cabinet that no longer serves a purpose. These awkward zones can become excellent appliance storage. A counter-height niche can accommodate a beverage center, while a lower cabinet can hold a mixer lift or pull-out appliance shelf.
Retrofitting an existing niche is often less expensive than adding an entirely new cabinet run. Start by measuring the opening, checking for nearby electrical access, and deciding which appliance would genuinely benefit from a dedicated home.
13. Add Charging and Cord Management Inside
Visible cords make even a clean countertop look busy. An appliance garage is the perfect place to solve that problem with an outlet strip installed by a qualified professional where needed, cord clips, and a small pass-through opening at the back of the cabinet.
Do not overload outlets or run cords through pinched, damaged, or wet areas. Keep cords away from heat sources and make sure appliances can be unplugged easily. A simple label on the outlet or shelf can help everyone return each appliance to the correct spot.
14. Use Cabinet-Matching Panels for a Seamless Look
For the most built-in appearance, use the same door style, paint color, and hardware as the surrounding cabinets. When closed, the appliance garage will read as part of the cabinetry instead of a separate storage feature.
This approach is particularly effective if you are refreshing the kitchen rather than fully remodeling it. Updating hardware, adding a new door front, or adjusting cabinet trim can help a garage blend into dated cabinetry. Find more practical upgrade options in this guide to a kitchen cabinet makeover without painting.
15. Make the Interior Beautiful and Easy to Clean
The inside of an appliance garage should be as functional as its exterior. Use a moisture-resistant, easy-clean surface such as laminate, tile, sealed wood, or a wipeable cabinet liner. Add a small tray beneath coffee equipment, and use bins or risers to prevent supplies from spreading across the shelf.
Battery-powered or hardwired LED lighting makes a deep garage easier to use. A warm light also gives the station a finished feel when the door is open. If your overall kitchen uses soft, earthy finishes, draw inspiration from these warm neutral kitchen decor ideas for a cohesive interior palette.
How to Plan an Appliance Garage Before You Build
A successful appliance garage starts with measurements and habits, not door style. List the appliances you want to store, then measure their width, depth, height, cord location, and clearance needed to operate them. Include space for opening lids, removing water tanks, and pulling out crumb trays.
- Choose the appliance first. Design around what you use most, not what looks best in a showroom.
- Map the workflow. Coffee equipment belongs near mugs, water, and beans; a mixer belongs near baking supplies.
- Confirm electrical needs. Plan outlets before cabinetry is installed, using licensed help when electrical work is required.
- Check door clearance. Open doors should not block a path, drawer, dishwasher, or neighboring cabinet.
- Plan ventilation and heat safety. Read appliance guidance carefully, especially for microwaves, toasters, and air fryers.
- Keep it realistic. If opening and closing the garage feels like extra work, the appliance may end up on the counter anyway.
Common Appliance Garage Mistakes to Avoid
The most common mistake is building a beautiful garage that does not fit the appliance. Measure current equipment and allow a little flexibility for future replacements. Another issue is choosing a deep, dark cabinet where items disappear behind one another. Pull-out shelves, interior lighting, and shallow organizers solve this problem.
Also avoid treating an appliance garage as a catchall. It should support a clear routine, not hide random clutter. Store only the appliances and supplies that belong to the task. This is especially important in compact layouts, including rentals and studios; these tiny apartment kitchen ideas can help you make every storage decision work harder.
Small Kitchen Appliance Garage Ideas: Final Takeaway
An appliance garage can make a small kitchen look calmer, feel more efficient, and offer more usable counter space. Whether you choose a corner tambour cabinet, a pull-out mixer shelf, a pantry coffee bar, or a simple freestanding hutch, the key is matching the design to your actual routine.
Start with the one appliance that creates the most countertop clutter. Give it a safe, easy-to-reach home, then build the rest of your storage plan around it. In a small kitchen, even one concealed appliance zone can make a major difference.
Frequently Asked Questions
Are appliance garages worth it in a small kitchen?
Yes, especially when daily-use appliances take up limited prep space. An appliance garage keeps tools accessible while hiding cords and visual clutter. It is most worthwhile when it is placed near the appliance’s usual work area and includes proper electrical access.
What appliances can go in an appliance garage?
Coffee makers, blenders, mixers, food processors, electric kettles, and toasters are common choices. However, every appliance has different heat, steam, and ventilation needs. Review the manufacturer’s instructions before operating or storing an appliance inside an enclosed cabinet.
How deep should an appliance garage be?
Many appliance garages are 12 to 18 inches deep, but the right dimension depends on the appliance. Measure the full depth, including handles, plugs, and the clearance needed to access water tanks, lids, or controls. A deeper garage may need a pull-out shelf to keep items reachable.
Do appliance garages need outlets?
An outlet inside the garage is convenient for appliances used in place, such as coffee makers. Electrical work should meet local code and be completed by a qualified electrician when needed. Avoid overloaded power strips, damaged cords, and locations exposed to excess heat or moisture.
Can you put a toaster or air fryer in an appliance garage?
You can store these appliances in a garage after they have cooled, but operating them in an enclosed space may be unsafe unless the appliance and cabinet setup are specifically approved for it. Toasters and air fryers produce significant heat, so always follow the manufacturer’s clearance and ventilation requirements.
What is the cheapest way to make an appliance garage?
A budget-friendly option is adapting an existing cabinet, desk niche, or countertop hutch. Add a retractable or lift-up front if practical, organize the interior with a tray and cord clips, and use the cabinet only for an appliance that fits safely. This can provide the benefits of a garage without custom cabinetry.
