
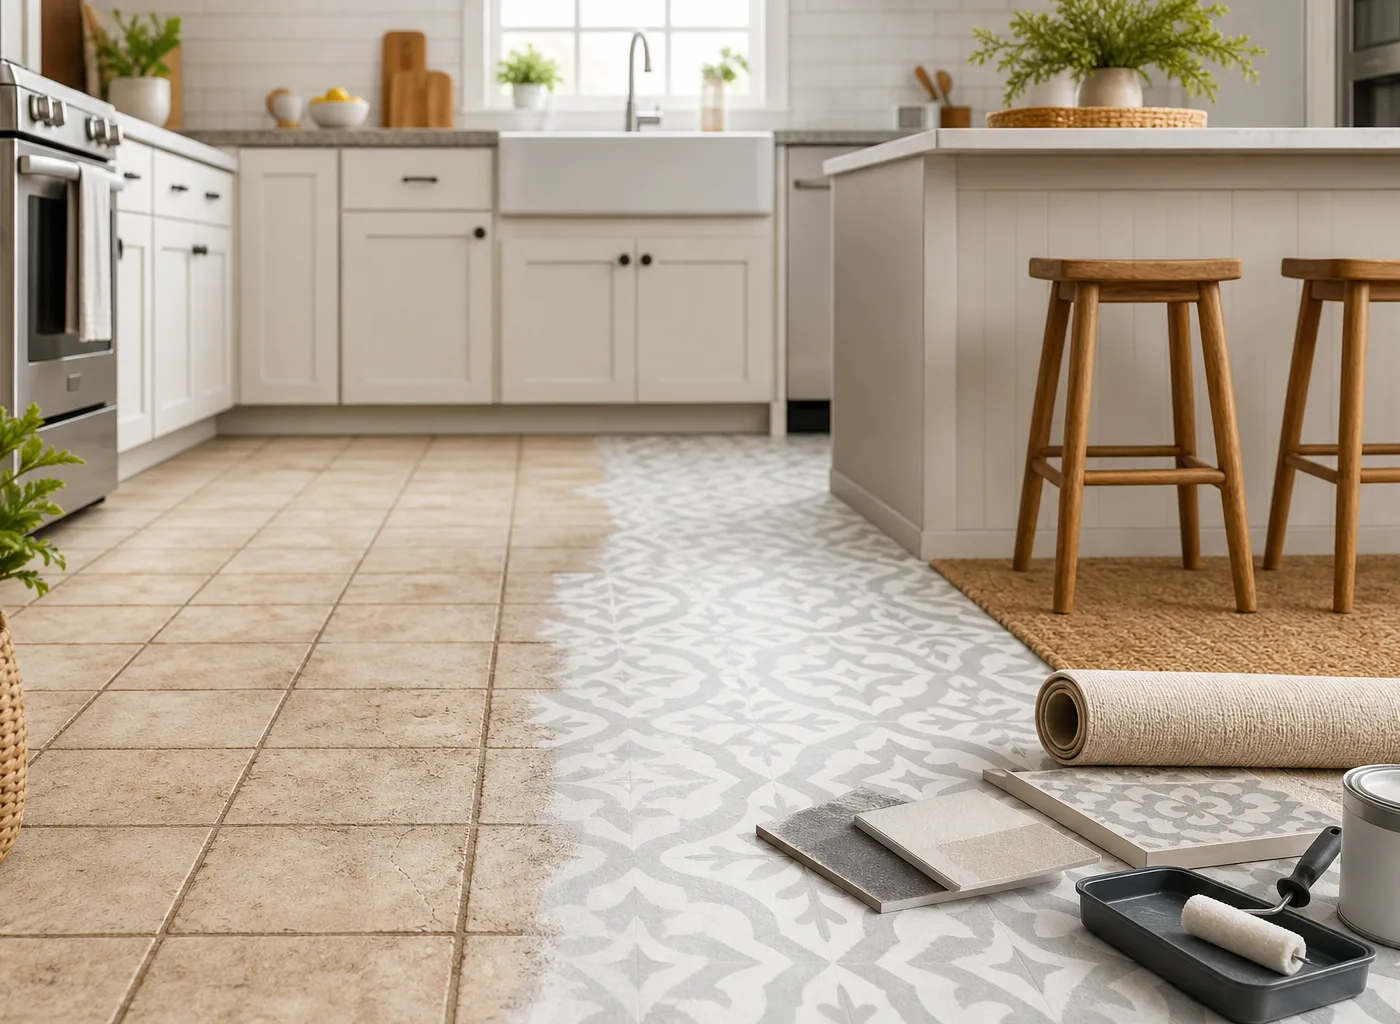
A kitchen floor makeover without replacing tile is one of the smartest ways to update a dated kitchen while avoiding demolition, high labor costs, and weeks of disruption. Tile is durable, but its color, grout, pattern, or overall condition can make an otherwise functional kitchen feel stuck in another decade.
The good news is that you can change the look of an existing tile floor without removing it. Depending on your budget, timeline, rental restrictions, and the condition of the tile, you may be able to paint it, refresh the grout, cover it with floating flooring, add peel-and-stick vinyl, or simply use layered textiles and better styling to redirect attention.
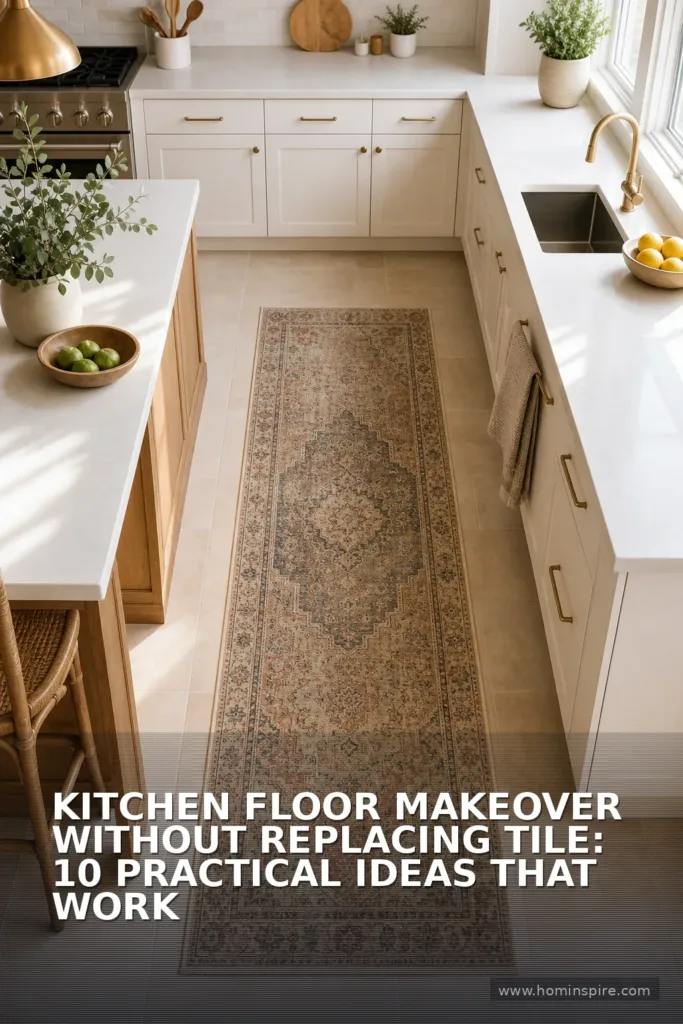
This guide explains the most practical options for US homes, including what each method costs, when it makes sense, and what to avoid in a hardworking kitchen.
Start by Assessing Your Existing Tile
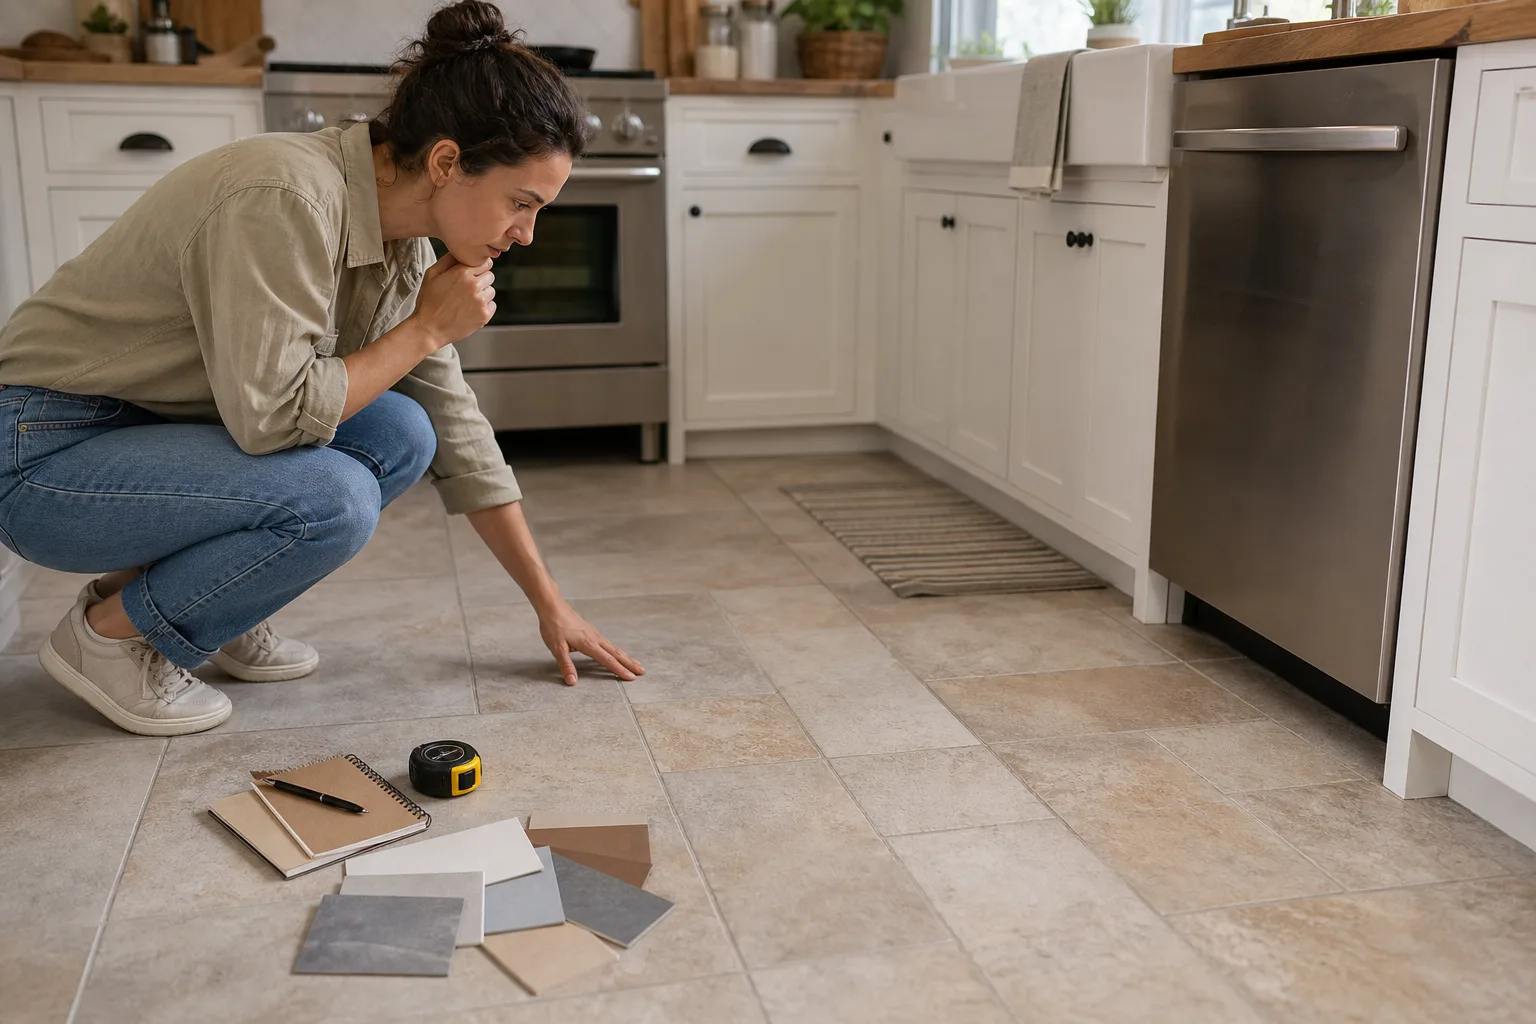
Before choosing a makeover method, inspect the current floor honestly. A surface-level update works best when the tile is firmly attached, reasonably level, and free of serious moisture problems.
Check for loose, cracked, or hollow-sounding tiles. A few damaged tiles can often be repaired before a makeover, but widespread movement may signal a subfloor issue that needs professional attention. Also look at the grout. Stained grout is cosmetic; crumbling, missing, or deeply cracked grout may need repair before you cover or coat the floor.
Measure the floor’s high and low points with a long level or straightedge. This matters most if you plan to install luxury vinyl plank, laminate, or another floating floor over tile. Deep grout joints and uneven tiles can telegraph through thin materials or interfere with click-lock connections.
Finally, consider kitchen transitions. Raising the floor even a small amount can affect appliance clearance, exterior doors, cabinet toe kicks, and transitions into nearby rooms.
1. Deep Clean, Regrout, and Recolor the Grout
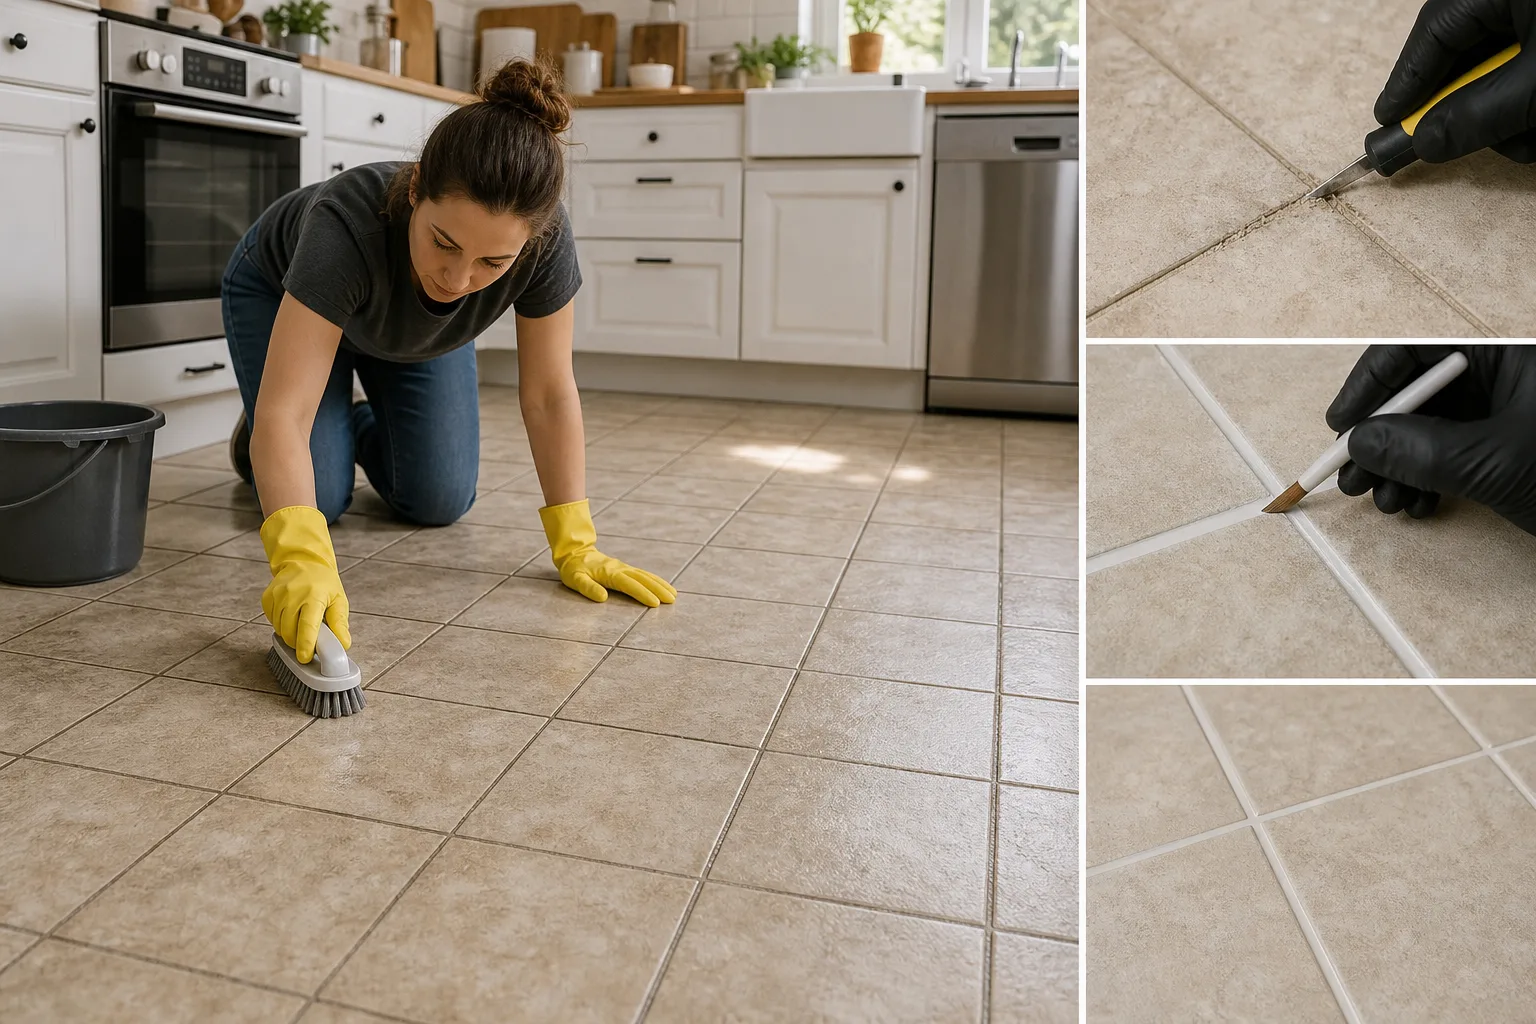
Sometimes the tile itself is not the real problem. Dingy grout can make an entire floor look older, darker, and less hygienic than it is. Cleaning and renewing grout is the lowest-cost route to a visible improvement.
Begin with a kitchen-safe degreaser and a stiff nylon brush. Avoid wire brushes that can damage grout or scratch glazed tile. If the grout remains discolored, use a grout colorant or grout stain. These products coat the grout with a more uniform color while helping resist future stains.
Light warm gray, soft taupe, and medium gray are versatile choices for many kitchens because they conceal everyday dirt better than bright white. A darker charcoal grout can give a clean-lined, graphic look, especially with white or pale tile. Test the color in a small, inconspicuous area first.
This approach is ideal when you still like the tile shape and color but want the floor to look cleaner and more intentional. It also pairs well with a cabinet refresh. For more ways to update the rest of the room, see these kitchen cabinet makeover ideas without painting.
2. Paint the Tile for a Dramatic Budget Update
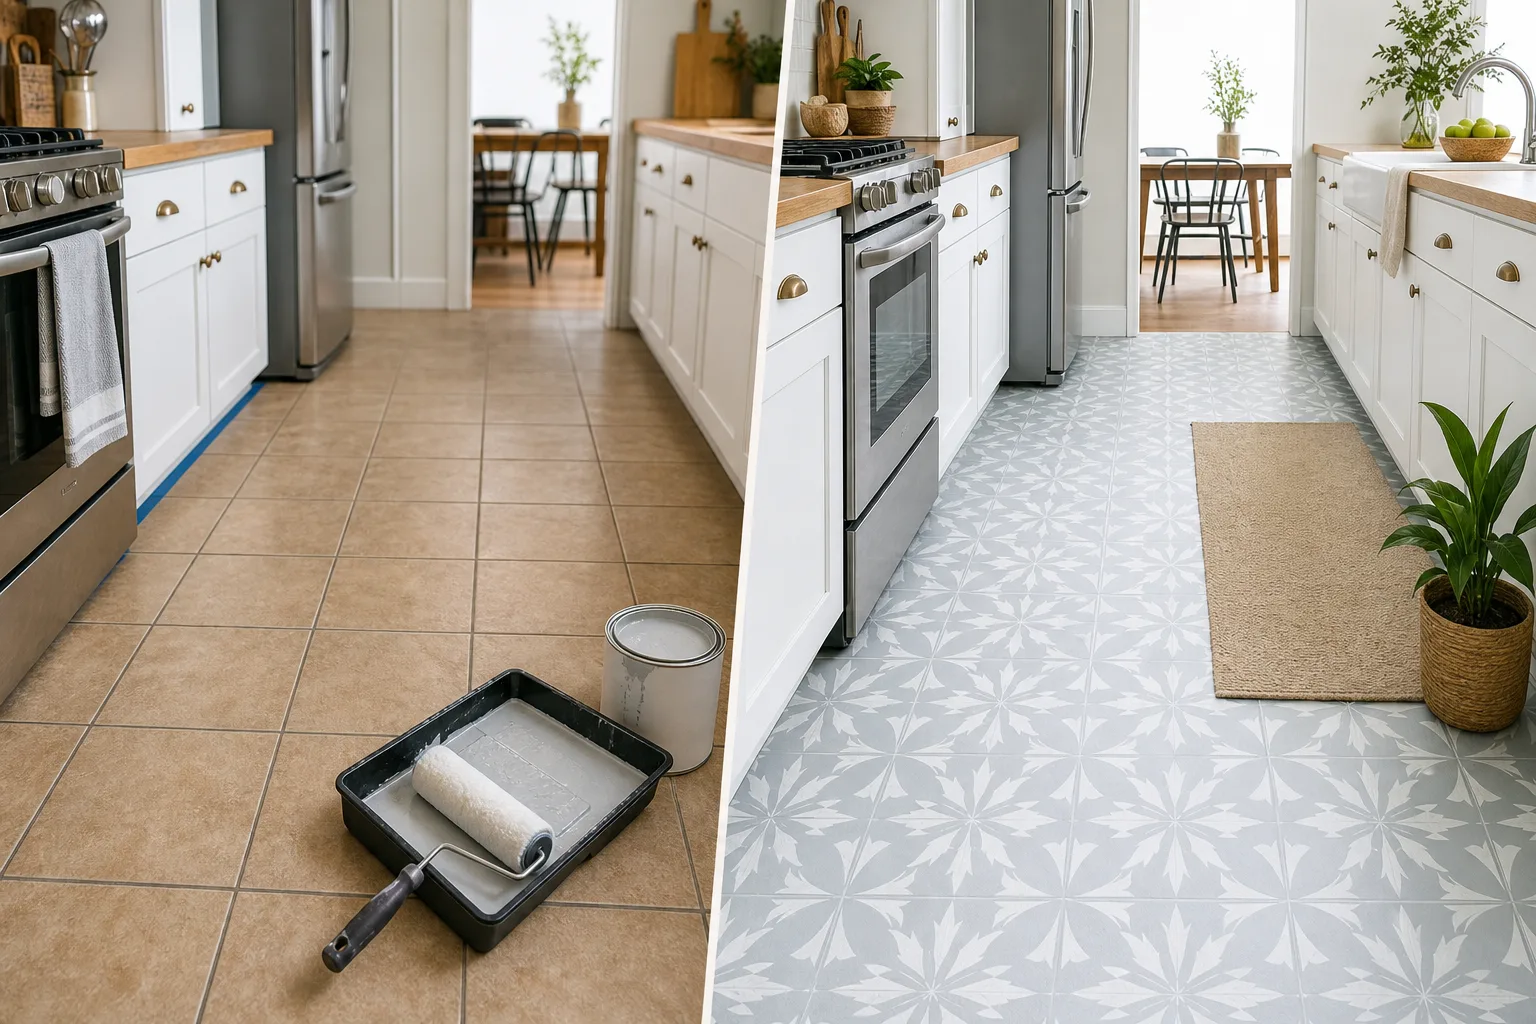
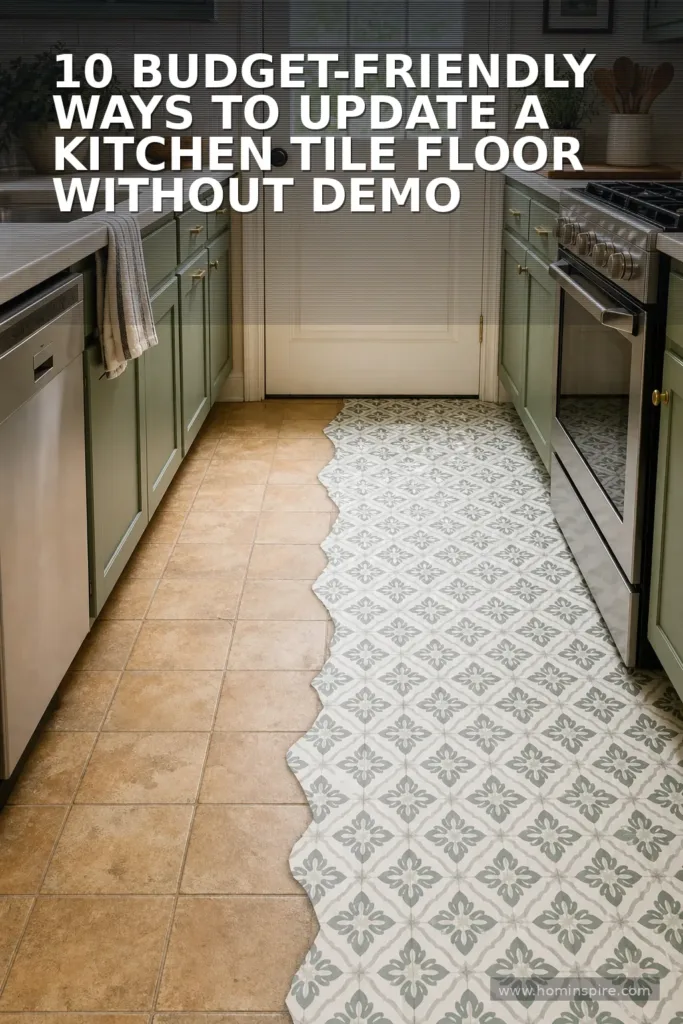
Painting is one of the most transformative kitchen floor makeover options without replacing tile. It can conceal dated beige, pink, brown, or patterned ceramic tile and create a custom look for a fraction of replacement costs.
However, painted kitchen floors require proper preparation and realistic expectations. The kitchen is a high-traffic, spill-prone area, so ordinary wall paint is not suitable. Use a coating system specifically designed for floors or tile, typically including a bonding primer, durable floor paint or epoxy-based coating, and a protective clear topcoat.
How to Paint a Tile Kitchen Floor
- Clean thoroughly. Remove grease, wax, dirt, and cleaner residue. TSP substitute or a degreasing cleaner is often useful.
- Repair imperfections. Regrout missing areas and secure loose tiles. Let repairs cure fully.
- Sand lightly if directed. Light abrasion helps primer adhere to glossy glazed tile. Wear appropriate eye and respiratory protection.
- Apply bonding primer. Choose a primer compatible with both ceramic tile and the finish coat.
- Paint in thin, even coats. Follow the manufacturer’s recoat times precisely.
- Add a protective topcoat. Several thin coats generally wear better than one heavy coat.
- Allow full cure time. Dry is not the same as cured. Keep foot traffic and furniture off the floor for the recommended period.
Solid colors are the simplest choice, but stencils can imitate encaustic cement tile, checkerboard patterns, or subtle borders. If you use a stencil, practice on spare cardboard or an unseen tile first. Keep the pattern simple enough that touch-ups will be manageable later.
Painted tile is best for a homeowner who wants a major visual change, can follow a detailed prep process, and accepts that periodic touch-ups may be needed. It is less ideal for heavily used kitchens with large dogs, frequent indoor-outdoor traffic, or recurring standing-water issues.
3. Use a Tile Refinishing or Resurfacing Kit
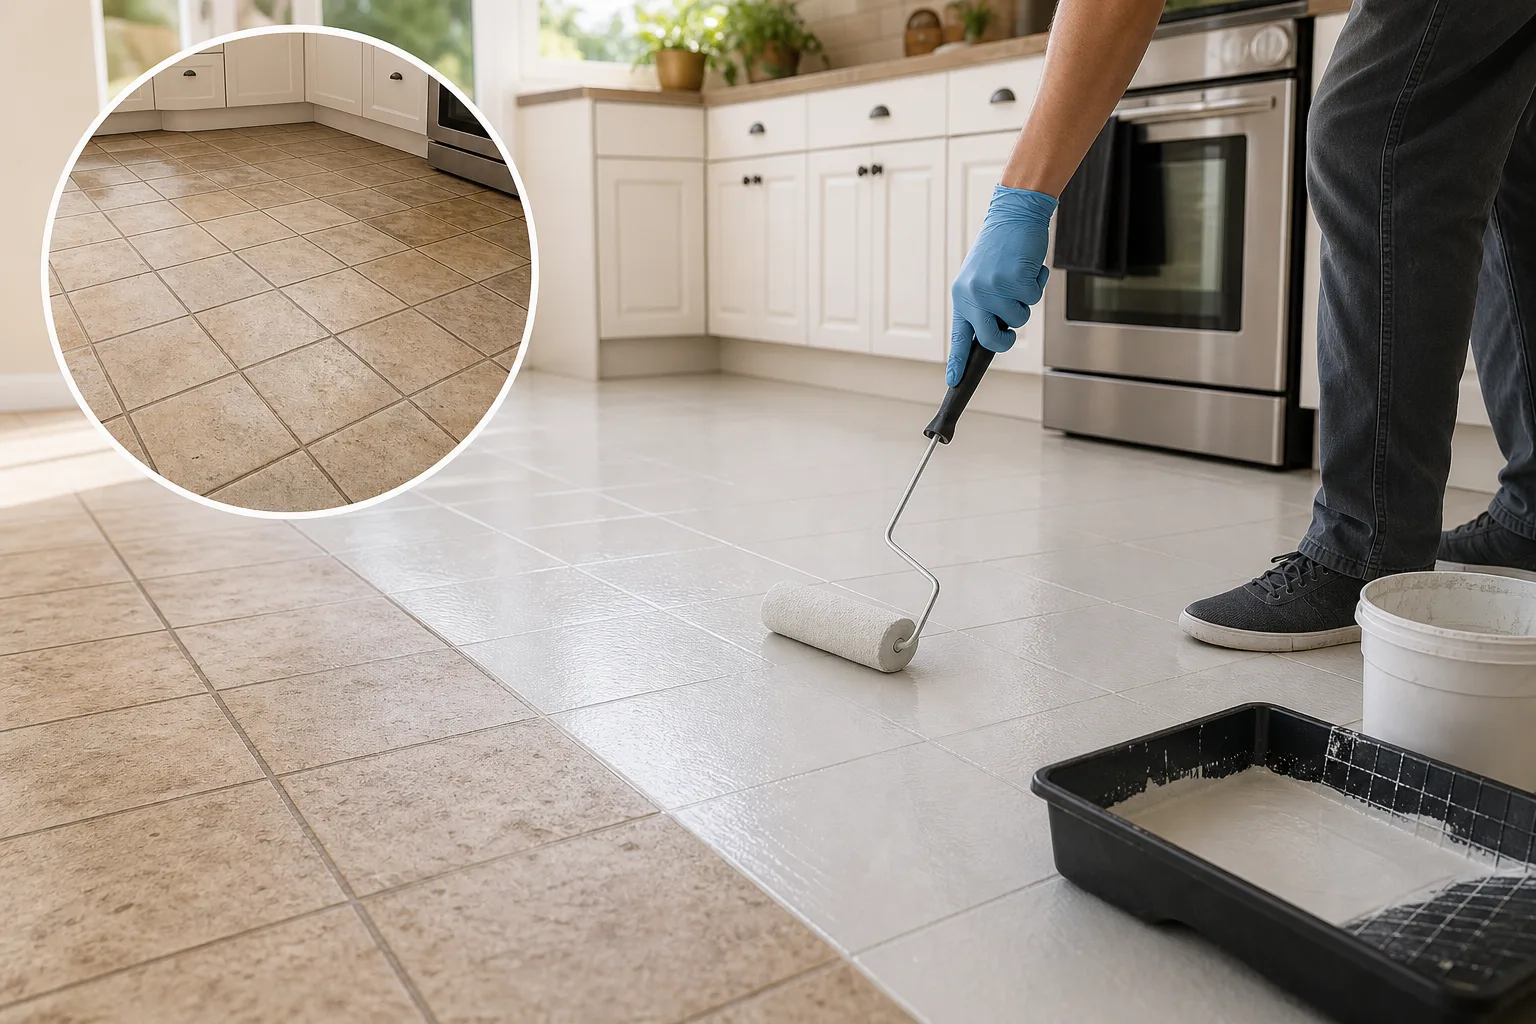
Tile refinishing kits offer a more coating-focused alternative to conventional floor paint. Some systems use epoxy or urethane finishes intended to create a hard, uniform surface over ceramic tile and grout lines. They can be useful when you want a cleaner, more continuous appearance rather than emphasizing every individual tile.
Professional refinishing generally produces the most durable result because contractors use commercial-grade materials and spray equipment. DIY kits cost less but demand careful ventilation, temperature control, and curing time. Read all safety instructions before starting, especially because some products have strong fumes.
Resurfacing can make a floor look fresh and cohesive, but it will not correct structural movement or failing tile. If the tile shifts, cracks, or has moisture underneath, any coating may eventually crack or peel with it.
4. Install Peel-and-Stick Vinyl Over Tile
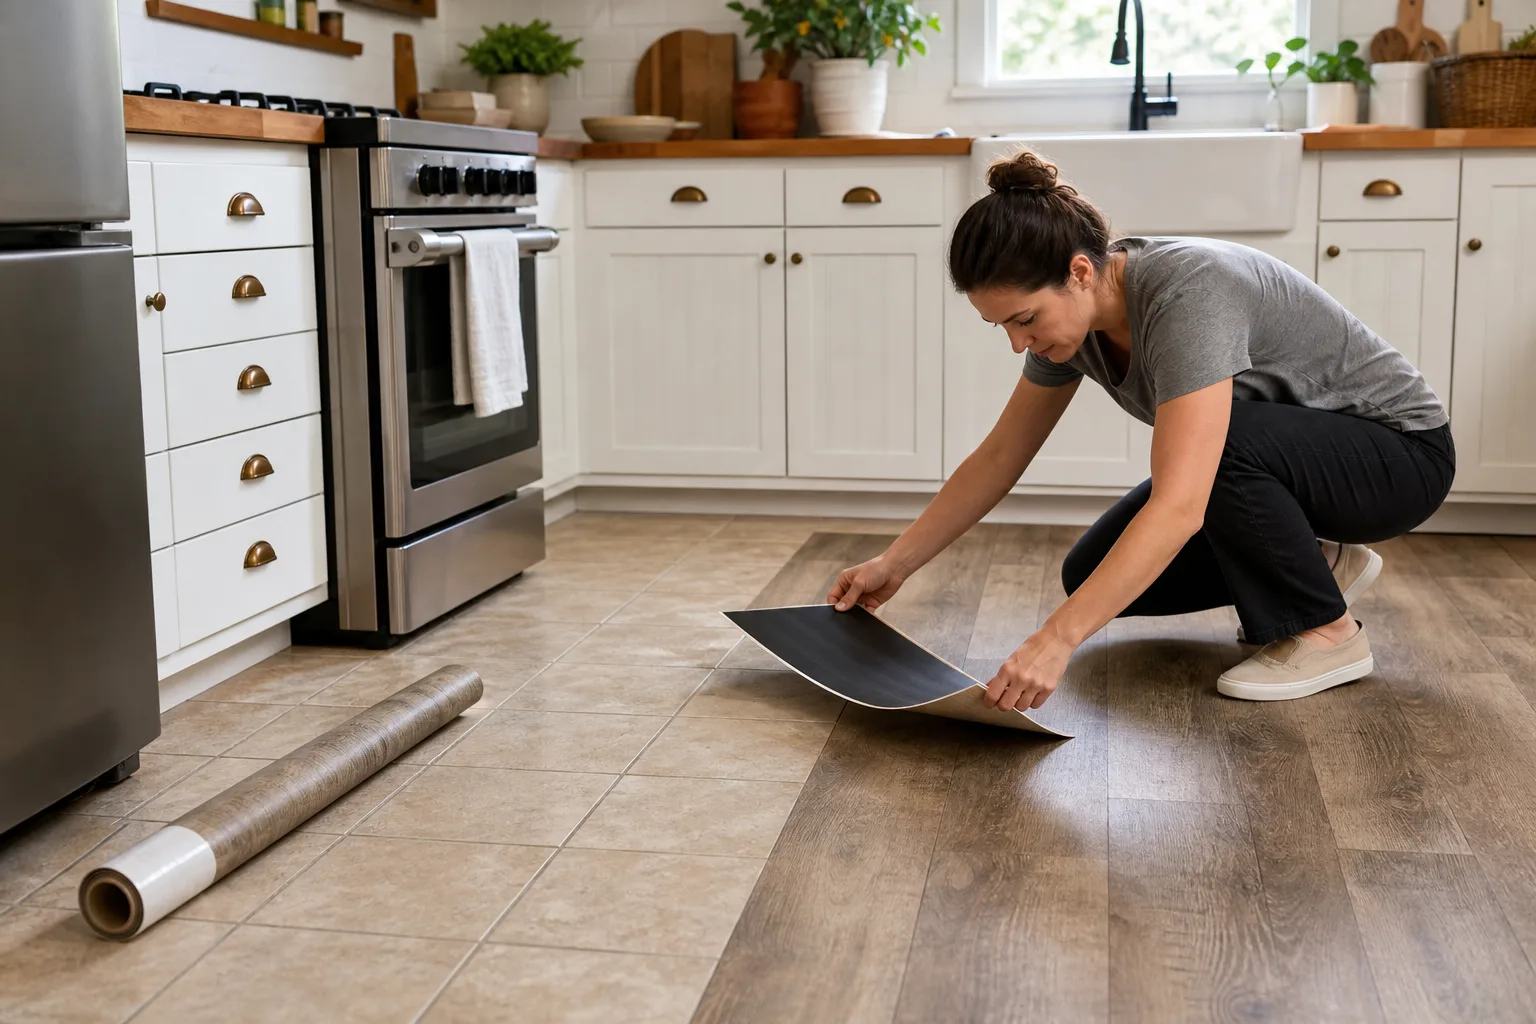
Peel-and-stick vinyl tiles are a popular option for renters and budget-conscious homeowners because they are inexpensive, available in many colors and patterns, and relatively easy to install. Modern vinyl styles can resemble stone, terrazzo, wood, or classic checkerboard.
The main challenge is the grout lines. Thin peel-and-stick products may sink into deep grout joints over time, creating visible lines or an uneven feel underfoot. For the best result, fill grout joints with a patching or embossing compound approved for the vinyl product, then sand it smooth after it dries.
Choose vinyl rated for floors, not decorative wall decals. Also check that the existing tile is clean, dry, and smooth. Adhesive does not perform well over dusty grout, waxy residue, or moisture-prone surfaces.
This option works well for a small kitchen, laundry-adjacent kitchen, or temporary refresh. In a larger kitchen, higher-quality vinyl plank or sheet vinyl may provide a more durable long-term finish.
5. Lay Luxury Vinyl Plank or Tile Over Existing Tile
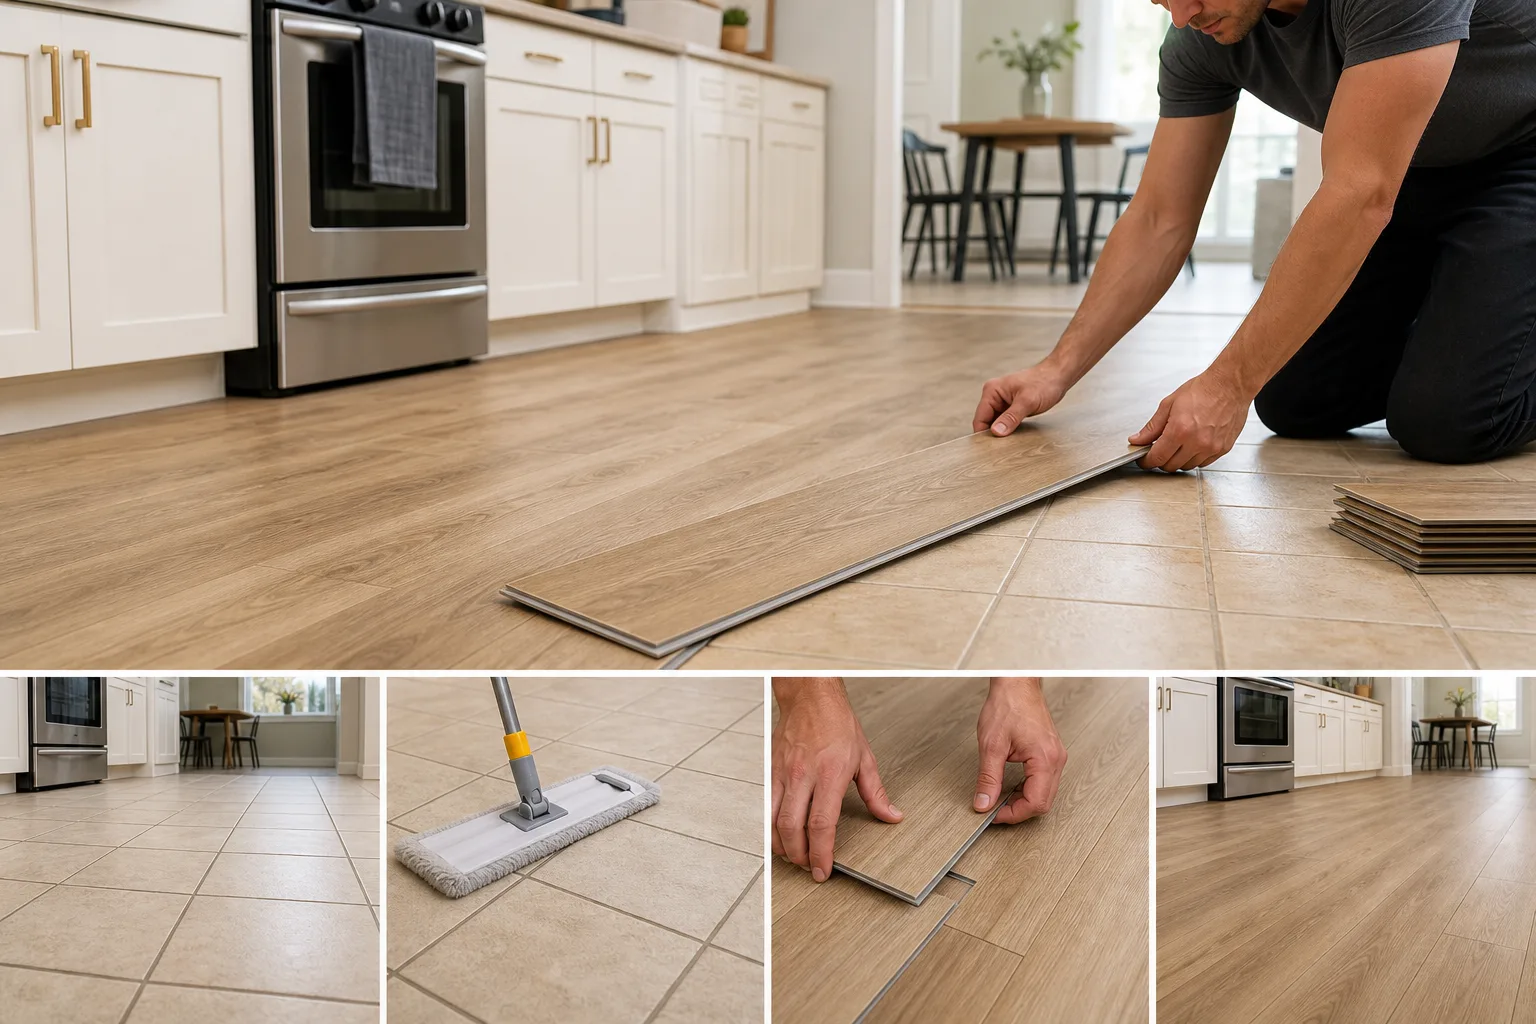
Luxury vinyl plank (LVP) and luxury vinyl tile (LVT) are durable, water-resistant choices that can often be installed directly over a stable tile floor. They offer a major style shift without tile demolition and are comfortable underfoot compared with ceramic.
Click-lock floating LVP is especially practical because it does not always require adhesive. Still, the tile must be flat enough for the manufacturer’s specifications. Deep grout lines may need skim coating, and high tile edges may need leveling. Never skip this step just because the planks appear to lie flat at first; uneven support can lead to joint failure later.
Consider total thickness before installation. LVP plus an approved underlayment can raise the finished floor, creating new transition needs. You may also need to remove baseboards, trim door casings, or adjust doors.
For many households, LVP provides the best balance of durability, cost, and visual impact. It is especially helpful when the old tile is sound but visually overwhelming.
6. Consider Rigid-Core Flooring for Uneven Tile
If your existing floor has minor irregularities, rigid-core vinyl flooring may be more forgiving than thinner peel-and-stick products. SPC and WPC core floors have a firmer construction that can bridge small imperfections better, although they still need a reasonably flat base.
Do not confuse “forgiving” with “installs over anything.” Large lippage, broken tiles, or deep unfilled grout channels can still cause problems. Review the product’s installation guide and use a floor patching compound where required.
Rigid-core flooring is a worthwhile choice if you want the appearance of wood or stone without the maintenance concerns of natural materials. Look for a wear layer appropriate for a busy kitchen and select a waterproof product if spills are common.
7. Create a Softer Look With Washable Kitchen Rugs
A washable runner or low-pile kitchen rug will not hide an entire tile floor, but it can significantly change the room’s visual balance. This is one of the easiest kitchen floor makeover ideas when you are renting, saving for a larger renovation, or simply need a quick refresh.
Place a runner in front of the sink, along the main prep zone, or between an island and perimeter cabinets. Choose a rug with a non-slip backing or use a thin rug pad designed for hard floors. Avoid thick, fluffy rugs near cooking areas, where crumbs and spills are inevitable.
Patterned washable rugs work particularly well over dated tile because they distract from busy grout lines and bring in color. A vintage-inspired pattern can soften a sterile kitchen, while a striped flatweave can make a narrow galley kitchen feel longer.
Rugs are also an opportunity to coordinate the floor with lighting and other finishes. If your kitchen feels flat after the update, explore these cozy kitchen lighting ideas to create a warmer, more layered result.
8. Use Interlocking Floor Tiles for a Temporary Cover-Up
Interlocking vinyl or foam-backed floor tiles can cover an existing tile floor with minimal commitment. Some are designed for utility spaces, while others have more decorative finishes suitable for a casual kitchen or apartment.
This solution is not as seamless or durable as LVP, but it can be useful in a rental where permanent changes are restricted. Look for products intended for indoor residential flooring and confirm whether heavy appliances can sit on them. Many temporary tiles are not suitable under refrigerators, ranges, or rolling kitchen islands.
Because kitchen floors encounter water and grease, clean beneath removable tiles occasionally. Trapped moisture and crumbs can create odor or mildew concerns if left unchecked.
9. Improve the Room Around the Floor
When tile is not damaged but simply looks dated, changing the surrounding finishes can reduce its visual impact. This strategy often costs less than a full floor cover and can make the old tile feel more intentional.
Start by choosing a color direction that works with the tile rather than fighting it. For example, warm beige tile can look more current with creamy white walls, natural wood accents, aged brass hardware, and muted green textiles. Cool gray tile often works with clean white cabinets, black accents, and soft oak tones.
Decluttering countertops and organizing storage can also make a kitchen feel newer. These kitchen drawer organization ideas can help create a more functional space without changing the layout. In a compact room, brighter task lighting and clear counters may have as much impact as a new floor. You may also find useful inspiration in these very small kitchen ideas on a budget.
10. Know When Covering Tile Is Not the Right Fix
A no-demolition makeover is appealing, but it is not always the best answer. Replacement or repair may be necessary if you have widespread cracks, loose tiles, active water damage, major floor unevenness, or mold-related concerns.
You should also reconsider a cover-over installation if it will create a significant height difference at doorways or prevent appliances from being removed later. In some older homes, adding another flooring layer can complicate future renovations and create awkward transitions.
If you are unsure, ask a flooring installer to assess the tile and subfloor. A short consultation can prevent wasted money on a product that is not suitable for your kitchen.
How to Choose the Best Kitchen Floor Makeover Method
The right choice depends on how long you need the update to last and how much wear the kitchen receives.
- Choose grout renewal if the tile is acceptable but dirty-looking.
- Choose paint or refinishing if you want a dramatic color change on a tight budget and can commit to maintenance.
- Choose peel-and-stick vinyl for a temporary, low-cost update in a smooth, low-to-moderate traffic kitchen.
- Choose LVP or LVT for a durable, substantial transformation without removing stable tile.
- Choose washable rugs for the fastest, least permanent visual refresh.
Also think about your home’s overall style. A patterned painted floor can suit a cottage or modern farmhouse kitchen, while warm wood-look LVP may work well in a more transitional space. For styling ideas that complement a warm, lived-in floor update, browse these modern farmhouse kitchen decor ideas.
Final Thoughts
You do not need a demolition crew to make an old kitchen floor feel fresh. Whether you restore stained grout, apply a durable tile coating, install vinyl over stable tile, or use a well-chosen washable runner, a kitchen floor makeover without replacing tile can deliver a meaningful change for far less money and mess.
Focus first on the condition of the existing floor, then choose an option that matches your budget, household traffic, and desired lifespan. With thoughtful prep and the right materials, even a dated tile floor can become a background you are happy to live with again.
Frequently Asked Questions
Can you put new flooring over old kitchen tile?
Yes. Luxury vinyl plank, luxury vinyl tile, sheet vinyl, and some peel-and-stick products can be installed over old tile when it is firmly bonded, clean, dry, and level enough. Deep grout lines or uneven edges may need to be filled or leveled first.
Is painting kitchen floor tile durable?
Painted tile can be durable when the tile is thoroughly cleaned, properly primed, coated with floor-rated products, and allowed to cure completely. However, it may eventually need touch-ups in high-traffic zones, especially near sinks, doors, and islands.
What is the cheapest way to update a tile kitchen floor?
Deep cleaning and recoloring grout is usually the least expensive option. Adding a washable kitchen runner is another affordable way to reduce the visual impact of outdated tile without making a permanent change.
Do grout lines show through peel-and-stick vinyl?
They can. Thin peel-and-stick vinyl may conform to deep grout lines over time. To prevent this, fill the joints with a compatible embossing or patching compound and create a smooth surface before installation.
Can I install vinyl plank flooring over cracked tile?
Small, stable cracks may be repaired and leveled before installation, but loose or actively cracking tile should not be covered until the underlying issue is addressed. Movement beneath the new floor can cause future damage.
How long does a kitchen floor makeover without replacing tile take?
A rug or grout refresh may take a few hours to a weekend. Painting often takes several days because of drying and curing time. Installing LVP over tile usually takes one to three days for a typical kitchen, depending on preparation and room complexity.
